

Build Article - Sepecat Jaguar A Kitty Hawk 1/48 (part 3)

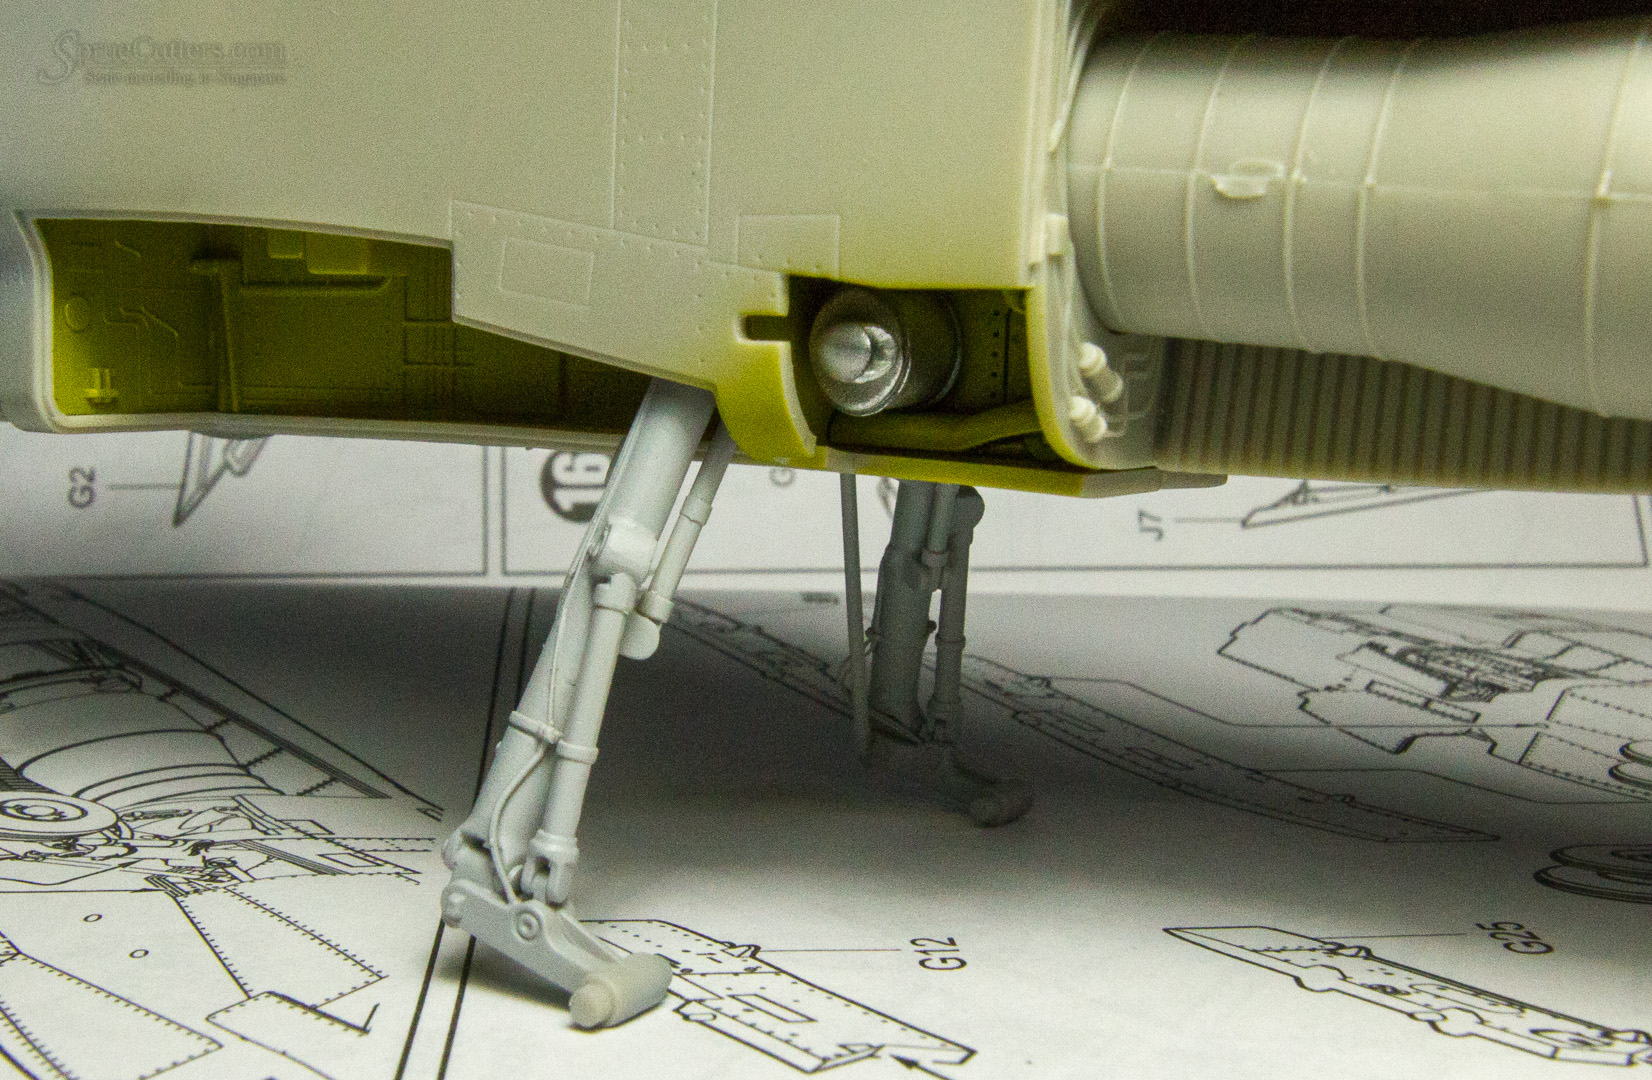
I have to admit, the main attraction of the Jaguar to me, was the beefy landing gear.
While Kitty Hawk did a commendable job of moulding them, I sought to boost the realism by adding the hydraulic lines.
These were done using stretched sprue, following reference photos found online.

Here’s a montage showing the process on the main landing gear.

This kit’s parts breakdown require assembling the landing gear before I can close up the fuselage halves. These will have to be masked before painting the fuselage colours.

The kit wrongly supplies two APU exhausts for the airbrake bays.
The starboard side should be a refuelling port. This was made using scrap plastic, cut and shaped.
The port side bay has the APU exhaust installed.